PipePatch Troubleshooting
by: Cooper Ellis, Techinal Sales Support Specialist
When you’re on a tight budget with limited resources, installation mistakes can have major consequences. Although PipePatch’s pre-measured kit eliminates guesswork, it is imperative to follow the installation instructions. Skipping steps can cause a patch failure—putting you at risk for additional expense and labor.
We've tallied eight common installation mistakes with the CIPP PipePatch system and how to avoid them.
1. Correct Pipe Size
Our kits and packers are each engineered to fit in different pipe sizes. If you are not 100% sure on the size, physically measure the pipe with a tape measurer.
![]()

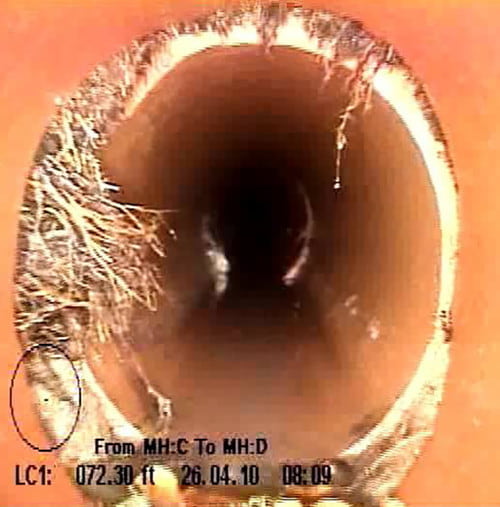
2. Misaligned Patches
The camera head needs to be at the packer’s center to confirm that the patch is in the middle of the break. When transferring the measurement, walk back to the camera head and packer to verify that the camera is still centered in the packer’s inflation zone. This will result in an even and accurate repair.
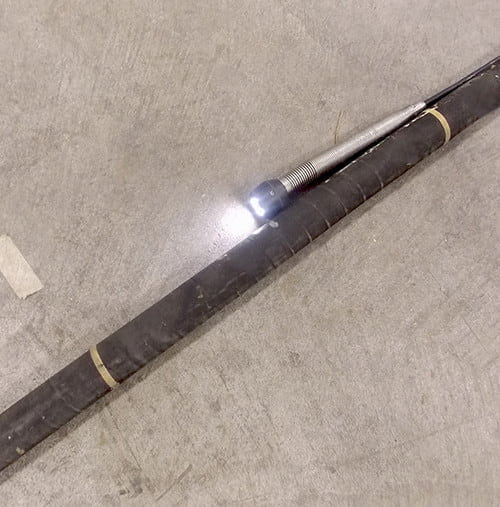

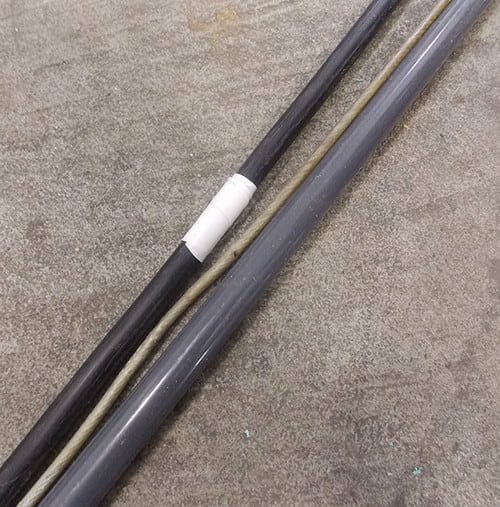
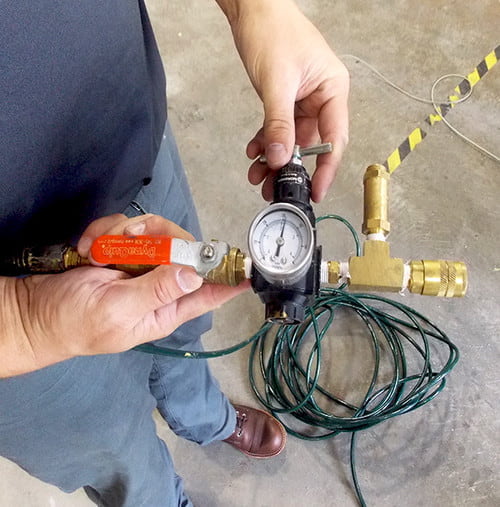
3. Equipment Alignment
When you have 100-ft cables, it’s easy to disregard that the cables are misaligned. It’s imperative for both the air hose/push rod and camera cable to be in a tight, straight line to accurately transfer the measurement. Before marking the measurement with tape, verify that all cables are straight.
TIP: When transferring measurement from camera coax to PipePatch equipment, having different colors of tape is helpful to differentiate.

4. Testing Equipment
Testing the equipment before a PipePatch installation is extremely important in order to check that nothing is defective. Using defective equipment during a repair will cause the PipePatch to fail. To test effectively, inflate the packer, blow off the regulator pressure at 35 psi and visually inspect all other equipment.
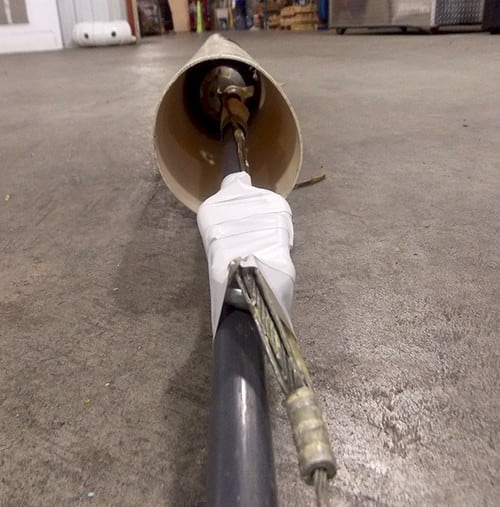
5. Inflating Packer Test
Often, the packer is not inflated above-ground with pipe that is the same size as the repair area. This test helps exercise the packer and confirms that you are using the correct PSI.
TIP: Use a piece of pipe with holes for additional verification that the packer is inflating correctly.

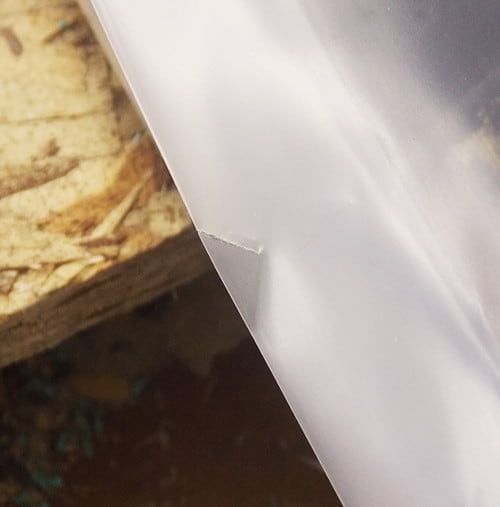
6. Performing Dry Runs
Performing a live dry run with the equipment needs to be completed before putting a patch on. Each kit includes two protective sleeves for the dry run and live repair. After successfully completing the dry run, the first sleeve will be wet from being in the pipe and needs to be removed. Use the second clean sleeve for the live patch repair.
TIP: Make a small incision in the protective sleeve. This helps with airflow and creates a smoother finish.

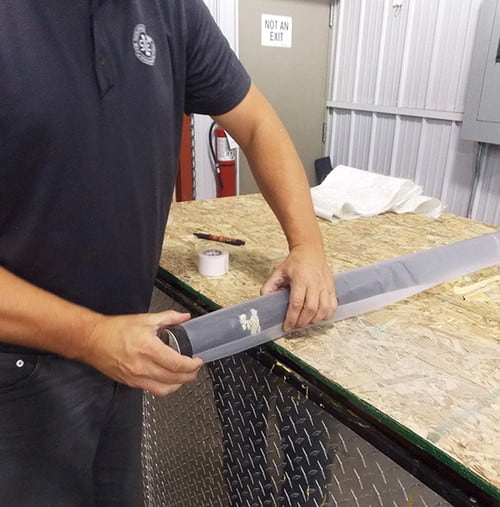
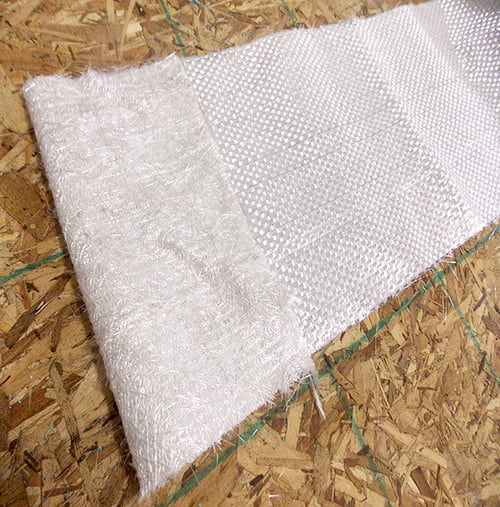
7. Fiberglass Mat Placement
The fiberglass that is included with each PipePatch kit has two sides, a shiny and chop (looks shaggy/furry) texture. Before adding resin, verify that the mat is in the correct position with the shiny side down and chop side up. The resin is spread on the chop side first.
![]()

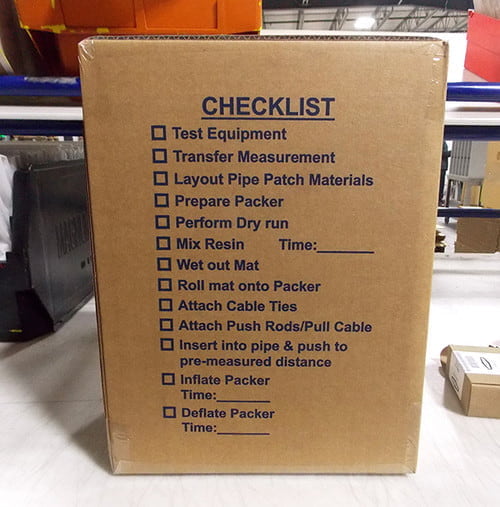
8. Timing
Keeping your eye on the clock is important during the curing process. You need to know what time you pulled the resin pins so you’re able to follow the cure chart accurately. Make sure you write down what time the pins were pulled—this can be marked right on the box.

At Source One Environmental (S1E), we know mistakes happen. S1E offers on-site consulting and certification to municipalities, contractors and plumbers who have purchased the PipePatch system. This training has proven to be a beneficial experience to understanding the process and gaining the confidence for future installations. Our consultants work hard to pass along their expertise and provide unparalleled access to teams at jobsites.
About S1E: Source One Environmental (S1E) was established in 2009 to provide innovative solutions for municipalities, contractors and plumbers in the water management and infrastructure rehabilitation markets. S1E manufacturers trenchless repair products that provide customers with an environmentally-friendly and cost-effective solution while offering on-site training and consultations.