

A modular channel drain that collects standing surface water and carries it away from driveways, patios, pool decks and walkways.
Built to move water
Join it together, set it in concrete, and send the water where you want it. Channels interlock end to end, grates lock in place, and every channel has three bottom outlets for 3″ or 4″ pipe.
Purposeful details, top to bottom
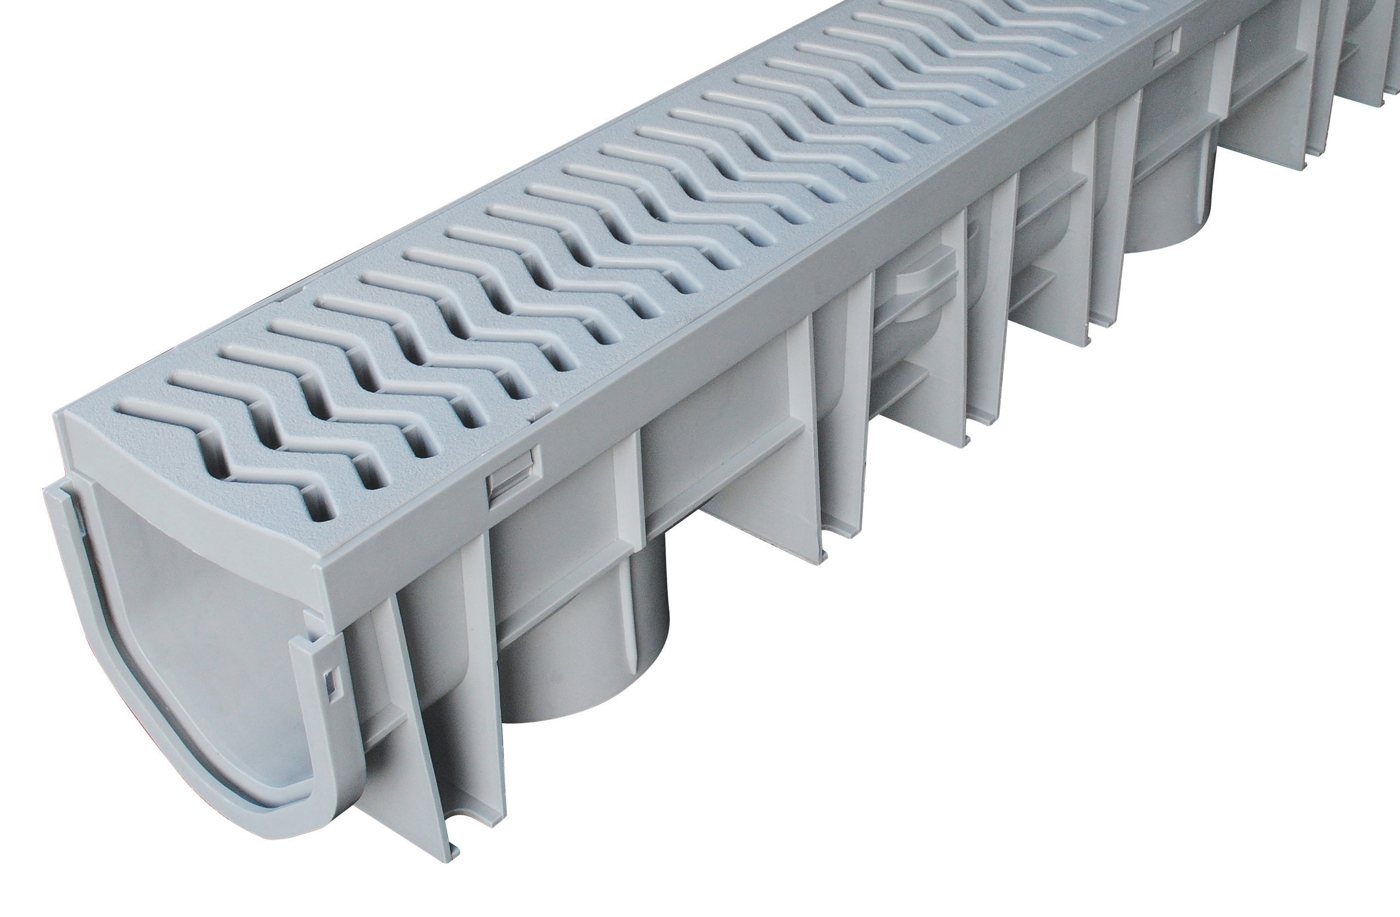
- Grates lock in. No clips or screws to assemble.
- Textured, concave grate. A non-slip surface that funnels water into the channel.
- Interlocking channels. A built-in joining system connects lengths end to end.
- Reinforced ribs. Molded in for strength and rigidity.
- Cavity feet. They grip the concrete and allow staking if needed.
- Three bottom outlets. Cut one open with a hole saw or utility knife to fit 3″ or 4″ Sch. 40, 4″ SDR-35, corrugated or 4″ triple wall pipe.
- UV inhibited. Channels, grates and accessories.

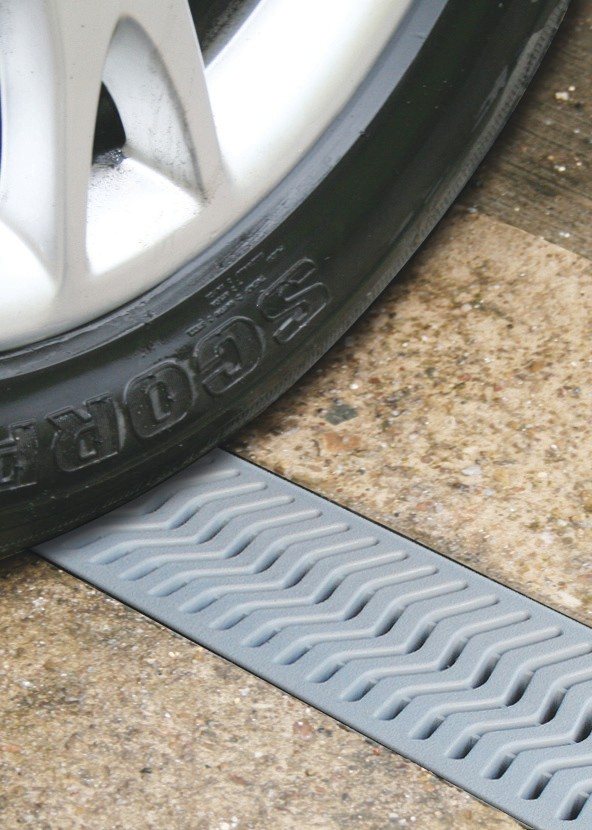
Where it works
Anywhere water pools and causes a mess, damage or a slip hazard.
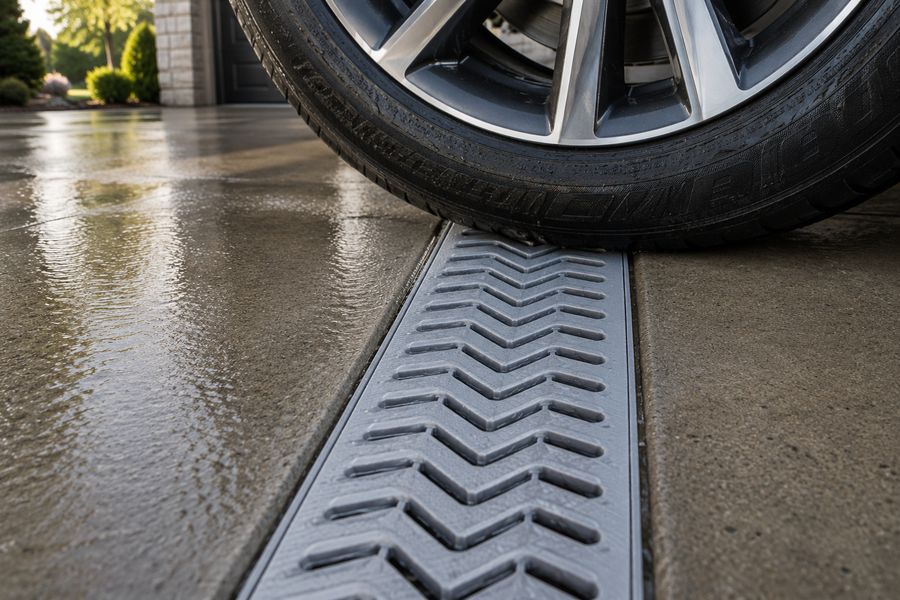





Channels and accessories
Build straight runs, corners, tees and crosses. Accessories slide into the female end of a channel and tab into the male end or a cut end.
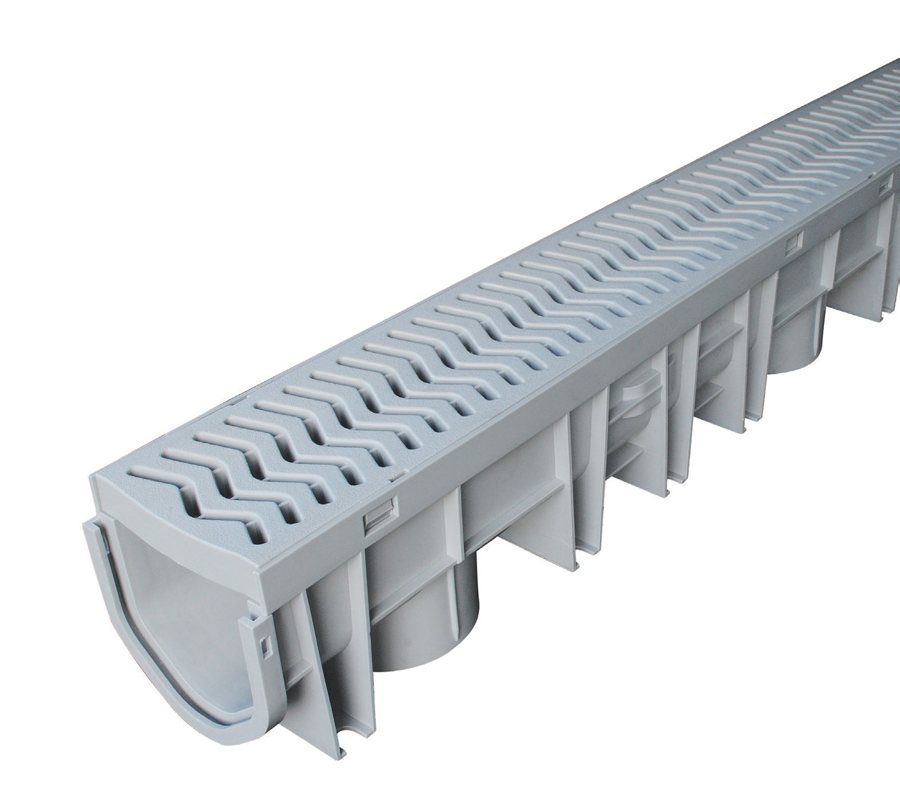
39.5″ channel with grate
Grey channel with a locking grate. Carton of 9.
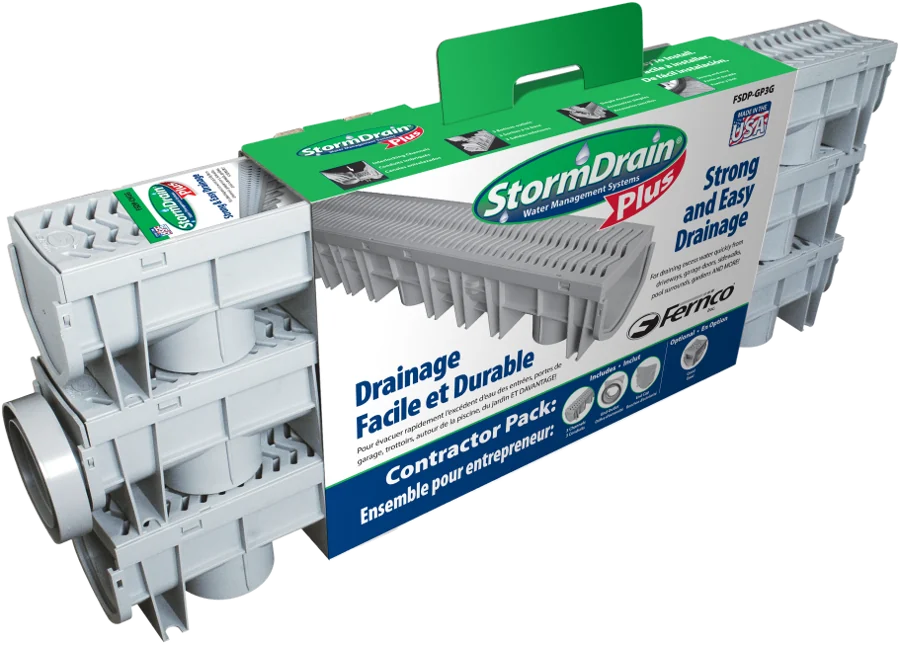
Contractor pack
Three channels with grates, one End Cap and one End Outlet. Carton of 3.
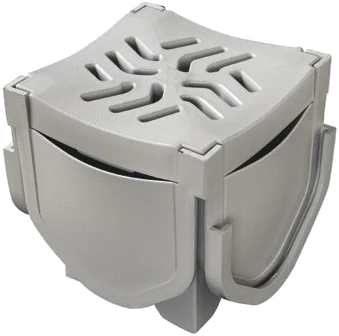
Quad 4-way connector
Makes left or right turns, tees and crosses. Cut out the openings you need. Carton of 3.
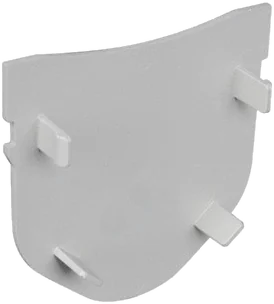
End Cap
Closes the end of a run. No clips or screws. Carton of 5.

End Outlet
An end-of-run connection to 3″ or 4″ sewer and drain or Sch. 40 pipe. Carton of 10.

How to install
Install requirements change with the surface and the traffic. Read the full instructions before you start.
- 1Dig the trenchDeep enough for a 2″ sand bed and wide enough for at least 4″ of concrete on each side.
- 2Set the gradeRun a string line at the finished height, mark the bottom outlet location if you’re using one, then spread and compact the sand. The channel isn’t pre-sloped, so the string sets the fall.
- 3Open an outletUsing a bottom outlet? Open it with a 3″ hole saw before setting the channel.
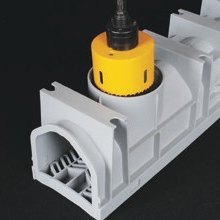
- 4Connect the runJoin channels and add the End Cap, End Outlet or Quad. Cut a channel and grate to length if needed.
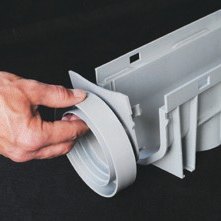
- 5Set and secureWork from the outlet end along the string line. Secure with ½″ rebar and wire ties.
- 6Pour and cureTape the grates and the grate lock holes, then pour. For vehicle traffic, finish the concrete so the channel sits 1/16″ below it. Let it cure fully before traffic or removing grates.
Don’t pour asphalt against the channel. Use at least 4″ of concrete between them. For patios, gardens and walkways, use concrete at least 3″ deep and 4″ out on each side, then add pavers or soil. Send the water to a storm drain, pop-up emitter or daylight, away from the house and where local code allows.
Watch the install
From trench to finished pour.
Part numbers
| Part | Description | Carton qty |
|---|---|---|
| FSDP-CHGG | 39.5″ grey channel with grate | 9 |
| FSDP-GP3G | Contractor pack: 3 channels with grates, 1 End Cap and 1 End Outlet | 3 |
| FSDP-QUAD | Quad 4-way connector | 3 |
| FSDP-EC | End Cap | 5 |
| FSDP-EO | End Outlet | 10 |
Specifications
| Use | Residential surface drainage and light-duty commercial: driveways, patios, pools, courts, gardens and walkways |
| Channel length | 39.5″ |
| Grate open area | 47 sq in per channel |
| Flow | Up to 60 gpm per channel |
| Load | Class B, 61 to 175 psi: medium-duty pneumatic tire traffic, cars and light trucks under 20 mph, installed in concrete |
| Grate | ADA and heel guard compliant, textured non-slip surface |
| Outlets | 3 bottom outlets per channel, plus the End Outlet |
| Pipe connections | 3″ and 4″ Sch. 40, 4″ SDR-35, corrugated and 4″ triple wall |
| Materials | UV inhibited channel, grate and accessories |
| Assembly | No clips or screws |
Common questions
Can I drive on it?
Yes, when it’s set in concrete per the instructions. It’s rated Class B (61 to 175 psi) for cars and light trucks under 20 mph. Let the concrete cure fully first.
Can it go in an asphalt driveway?
Yes, but not with asphalt poured right against the channel. Put at least 4″ of concrete on each side, then pave up to the concrete.
Is the channel pre-sloped?
No. Set the fall with a string line and the sand bed as you install, working from the outlet end.
How do I make a corner, tee or cross?
Use the Quad (FSDP-QUAD). Cut out the openings you need for a left or right turn, a tee or a cross.
Where should the water go?
Run 3″ or 4″ pipe from a bottom outlet or the End Outlet to a storm drain, a pop-up emitter or daylight, away from the house. Don’t send it onto a neighbor’s property, and follow your local stormwater code.
How do I keep it clear?
Lift out the grates and clear leaves and grit from the channel from time to time, especially after storms.
Documents and downloads
The sell sheet and installation instructions in English and French, plus the catalog page.
 StormDrain Plus Sell SheetSell sheet · PDFView PDF
  StormDrain Plus Installation InstructionsInstructions · PDFView PDF
  StormDrain Plus Sell Sheet (French)Sell sheet · PDF, CanadaView PDF
  StormDrain Plus Installation Instructions (French)Instructions · PDFView PDF
  Fernco Plumbing CatalogCatalog · PDF, StormDrain Plus on page 28View catalog